Introduction
A dripping tap is more than just a nuisance, it can cause your water bill to rise and cause damage in the long run. When you learn how to fix a leaky faucet, you can save yourself money and also avoid more problems and headaches later. This guide will take you by the hand to help you recognize the need for repairs, and show you how to make it right, with no drippy, drippy in your home.
Identifying the Problem
The first thing to understanding how to fix a leaking tap, is understanding it’s cause. Typical indications can include a leaky faucet, low water pressure or water building up around the base. These problems are commonly due to deteriorated washers, malfunctioning seals and loose components. Knowing the root cause supports you in making the right repair.
When to Repair
It is essential for a leak to be addressed promptly. If you wait to repair, water waste and even damage to fixtures and other areas can result. If you see standing water or have noticed a lack of water pressure, it’s time to move. Addressing water tap leaking repair in Auckland prevents larger issues from building themselves up.
Tools and Materials Needed
Before starting the repair, you will need to collect the following tools and materials:
- Adjustable wrench
- Screwdriver
- Replacement washers or seals
- Plumber’s tape
- Bucket or towel (to catch any water)
With the correct tools, you can have an easy life during the repair of your vehicle.
Step-by-Step Repair Guide
Here are steps you will follow to fix a leaking tap:
1. Turn Off the Water Supply
Before you begin any repairs, you will need to turn off the water supply to the faucet. Find the shut-off valve below the sink and turn it clockwise to stop the water. This will help you to avoid any inadvertent submersion during your repair.
2. Remove the Tap Handle
Remove the tap handle using a screwdriver. This could be that you need to unscrew a screw or very gently pop off a cap to reach the screw. Set the handle aside in a safe location after it is pulled off.
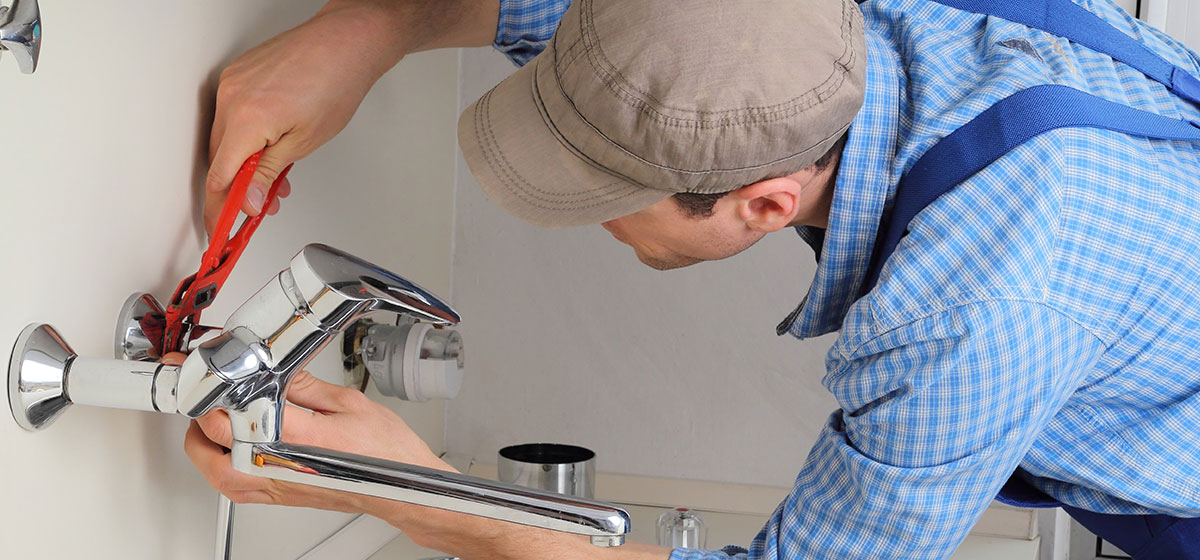
3. Dismantle the Tap
Unscrew the packing nut with an adjustable wrench once the handle has been detached. Remove stem or cartridge, depending upon type of faucet. This is the part that regulates the water flow, and it’s often the culprit.
4. Examine the Washers or Seals and Replace Them
Check the washers and seals for wear or damage. If they seem worn, get new ones. Make sure that the replacements are the right size and for your particular model of tap. This is a vital step in getting your leak to stop.
5. Reassemble the Tap
After the washers or seals have been replaced, reassemble the tap gently. Reinstall the stem or cartridge, then snug the packing nut and reattach the handle. To preclude future leaks, apply plumber’s tape for a tight seal.
6. Turn On the Water Supply
If you re-attach the unit, turn the water supply on again. Test by turning the tap on/off to operate. If the leak still continues, recheck that everyone is assembled properly and snug.
Preventing Future Leaks
And the leaks can be prevented with a regular servicing. Regularly inspect faucets for wear and replace, if necessary. Do not over-tighten taps when opening or closing to avoid stressing the hardware.
When to Call a Professional
Yeah, there are simple enough repairs that you can do yourself for a dribbling tap. If the leak doesn’t stop after your best efforts, or if you see corrosion or have difficulties, it’s best to call a plumber. Their experience can bring a more permanent solution.
Conclusion
Replacing a leaky tap is a task that is not difficult to do and will save you water and money. With a little structure, Rehome owners can tackle leaks in a timely and productive manner. Prevention is the key, and maintenance and early treatment are both important. Whether you can do the job yourself, or if you need to call in a pro, a leak-free tap means a more-efficient and less-expensive home.